


一、安装前准备
- 系统:macOS 12+(Monterey 及以上)
- 网络:稳定联网
- 工具:终端(Command + 空格搜 Terminal)
二、安装 Homebrew(没有的话)
1、打开 终端(Terminal):
- 按
Cmd + 空格,输入Terminal,回车。
2、运行以下命令
/bin/bash -c "$(curl -fsSL https://gitee.com/cunkai/HomebrewCN/raw/master/Homebrew.sh)"3、按提示操作
- 选择镜像源(如输入
1选择中科大源)。 - 输入开机密码(输入时无字符显示,属正常现象)。
- 安装完成后重启终端。
4、验证Homebrew安装
brew -v若显示版本号(如 Homebrew 5.1.0),则安装成功。
三、使用 Homebrew安装 Node.js
1、在终端输入如下命令
brew install node@222、配置 M 芯片的环境变量(关键)
echo 'export PATH="/opt/homebrew/opt/node@22/bin:$PATH"' >> ~/.zshrc
source ~/.zshrc3、禁用 corepack
corepack disable4、验证Nodejs安装
在终端中运行以下命令来检查 Node.js 是否正确安装:
node -v
npm -v若显示版本号(如 V22.16.0),则安装成功。
5、配置 npm 国内源
npm config set registry https://registry.npmmirror.com6、关闭 SSL 验证(避开证书问题)
npm config set strict-ssl false
npm cache clean --force7、全局强制 Git 用 HTTPS 替代 SSH
# 核心配置:把所有 GitHub 的 SSH 地址替换为 HTTPS
git config --global url."https://github.com/".insteadOf git@github.com:
git config --global url."https://github.com/".insteadOf ssh://git@github.com/

# 额外配置:解决 HTTPS 可能的证书问题(兜底)
git config --global http.sslVerify false

# 清空 npm 缓存
npm cache clean --force四、全局安装OpenClaw
1、在终端输入如下命令(这部分最好挂梯子)
npm install -g openclaw根据提示,输入开机密码(输入时无字符显示,属正常现象)。
npm warn deprecated node-domexception@1.0.0: Use your platform's native DOMException instead

added 541 packages in 26s

89 packages are looking for funding
run `npm fund` for details看到这个输出,说明你终于成功安装 OpenClaw 了!🎉
2、打开浏览器 UI
openclaw dashboard五、配置阿里千问模型
1、进入配置页面
在左侧菜单栏中依次选择:配置 > RAW
2、添加百炼配置
复制以下配置信息,替换原"agents": {...},部分,并将 DASHSCOPE_API_KEY 替换为您的百炼 API Key。然后点右上角保存/SAVE。
  "models": {
    "mode": "merge",
    "providers": {
      "bailian": {
        "baseUrl": "https://dashscope.aliyuncs.com/compatible-mode/v1",
        "apiKey": "DASHSCOPE_API_KEY",
        "api": "openai-completions",
        "models": [
          {
            "id": "qwen3.5-plus",
            "name": "qwen3.5-plus",
            "reasoning": false,
            "input": ["text", "image"],
            "contextWindow": 1000000,
            "maxTokens": 65536
          },
          {
            "id": "qwen3-coder-next",
            "name": "qwen3-coder-next",
            "reasoning": false,
            "input": ["text"],
            "contextWindow": 262144,
            "maxTokens": 65536
          }
        ]
      }
    }
  },
  "agents": {
    "defaults": {
      "model": {
        "primary": "bailian/qwen3.5-plus"
      },
      "models": {
        "bailian/qwen3.5-plus": {},
        "bailian/qwen3-coder-next": {}
      }
    }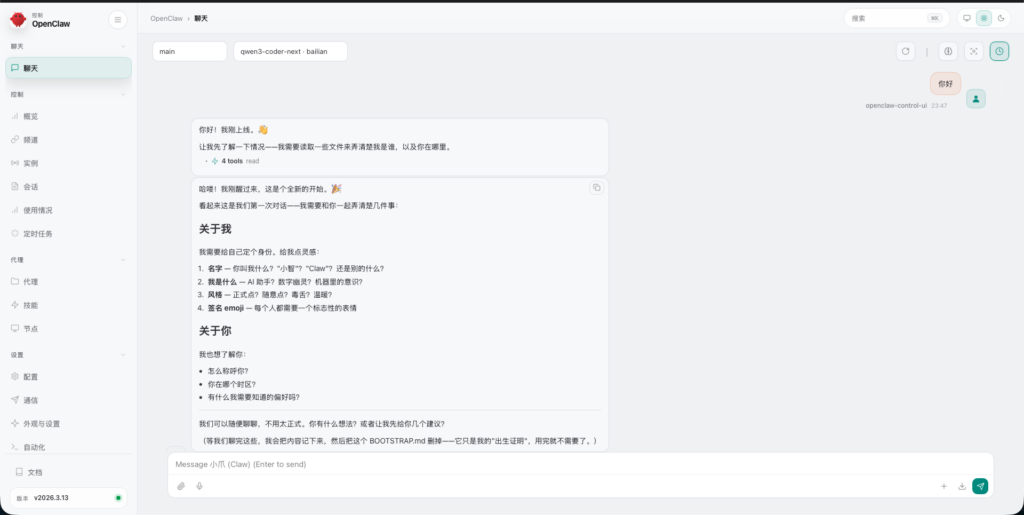
},3、回到聊天界面,就可以和机器人沟通了~!
六、注意事项
为避免产生费用,请在阿里云后台开启免费额度用完即停。地址:https://bailian.console.aliyun.com/cn-beijing?spm=a2c4g.11186623.0.0.21e52f35mIqMtf&tab=model#/model-usage